
3D Model: Staircase
- mackofoley
- Oct 16, 2015
- 1 min read
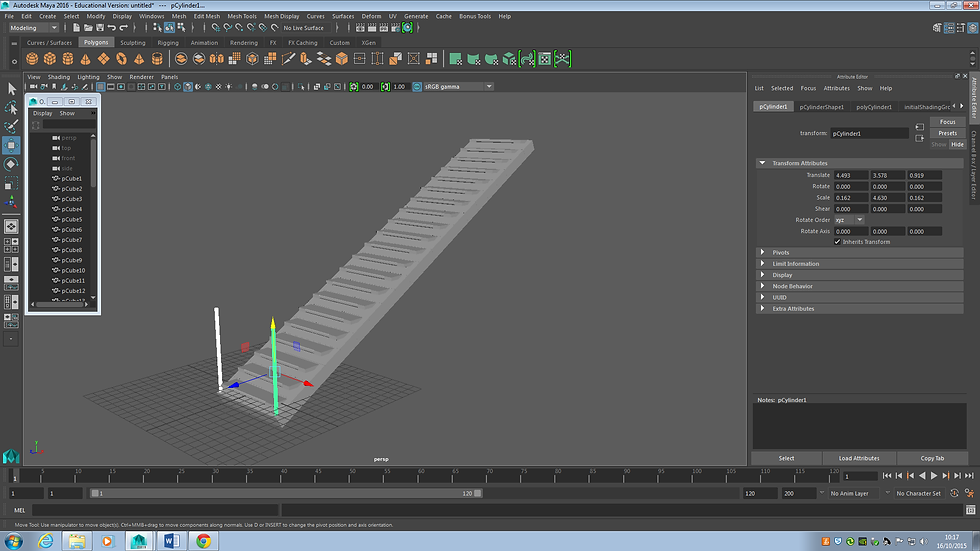
In this lesson we made use of the bend tool in order to create a spiral staircase. Next it was duplicated and aligned at the typical height one would expect to step up using shift+D instead of Ctrl+D. This essentially does the same thing but when repeatedly pressed the duplicated object will hold the same distance and orientation from the original object.

Now so the stairs don’t look as if they’re floating I did a similar thing to what I did with the steps with a polygon cube. To do this I lined up the cube to one step and then duplicated it onto another step so that both cubes were touching. Now using Shift+D I made a long line of these and merged them. After moving it down slightly it looked like the steps had some form of structural support. Additionally the railings were created by inserting a simple polygon cylinder and reshaping/resizing it and fitting it onto the bottom of the stairs.
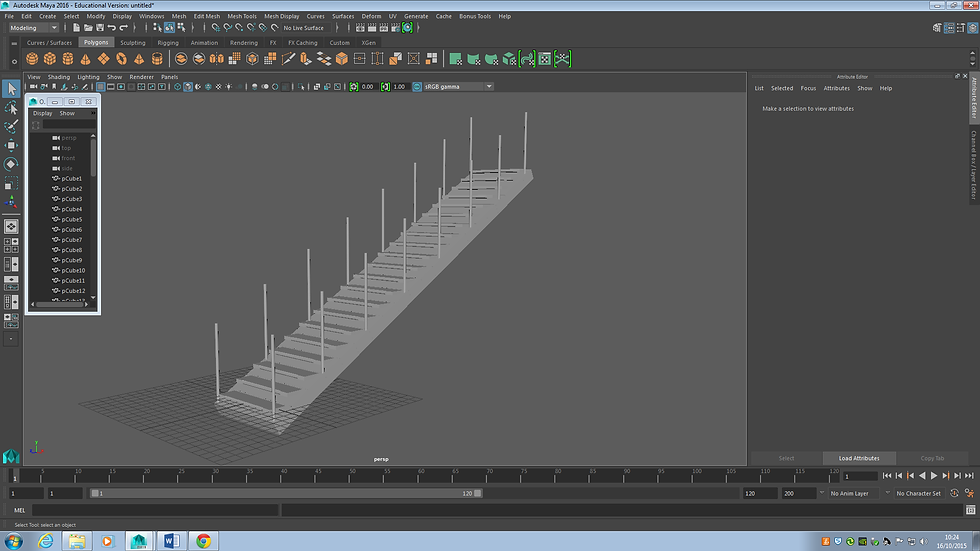

Once this is done all the items are merged and ‘bend’ is selected in the deform drop down menu (After hovering over ‘nonlinear’). Now before changing the curvature transformations need to be locked and the bend line needs to be rotated and moved.

After the curvature is altered all that needs to be done is duplicate the curved staircase and align it with the current one to add some height


Comments